I upgraded my Mac and thought I would share the steps I took for setting it up. I am excited for new AI capabilities. I have written this in an order that I would follow getting the foundational items installed first such as Home Brew.
Home Brew
Home Brew helps with installing software. It makes it easy to have a consistent way to install, update, and remove software from your machine. Since it runs from the terminal, you can script parts of your installation or the entire process.
If I can install it from HomeBrew I do with a few exceptions.
Install Home Brew ↗ Package Manager from terminal.
/bin/bash -c "$(curl -fsSL https://raw.githubusercontent.com/Homebrew/install/HEAD/install.sh)"
What this command does:
- Creates directories in opt/homebrew
- Installs Xcode Command Line Tools
- Installs Homebrew
After you install you should see next steps. You will need to run the two commands.
 Run
Run brew help to make sure your path is set properly. Open a new terminal to make sure it works in the new terminal as well. If it doesn't, make sure to run the two previous commands at the end of the install. If you lost them just run brew install again.
brew help
Update Homebrew Formulae:
This pulls the latest list of available formulae. It doesn't actually upgrade the software
brew update
List Outdated Packages
brew outdated
Upgrade Specific Packages
brew upgrade node
Upgrade All Packages
brew upgrade
Password Manager
The next thing to install is your password manager. It is hard to move forward if you don't have passwords.
# You don't need all of these.  Pick the ones you use.
brew install --cask lastpass
brew install --cask bit-warden
brew install --cask 1password
Open your password manager and go through the steps to login. Use spotlight to open CMD + Space, type lastpass as example.
Alternatively you likely can install all of these from the App Store.
Browser(s)
# You don't need all of these. Make sure to remove the \ from the end.
brew install --cask \
  google-chrome  \
  firefox \
  brave-browser
Communication Tools
brew install --cask \
  slack \
  discord \
  signal \
  zoom \
  skype
Terminal Tools
brew install \
  wget \
  git \
  nvm \
  yarn \
  pnpm
GIT
From terminal, set global name and email:
git config --global user.name "Your Name"
git config --global user.email "you@your-domain.com"
Set the default branch to main instead of master:
git config --global init.defaultBranch main
Improved git log:
git config --global alias.lg "log --color --graph --pretty=format:'%Cred%h%Creset -%C(yellow)%d%Creset %s %Cgreen(%cr) %C(bold blue)<%an>%Creset' --abbrev-commit"
Now use:
git lg
View global git configuration:
git config --list
Node Version Manager (NVM)
The node version manager (NVM) ↗ is used to install and manage multiple Node versions. After you have installed it via Homebrew brew install nvm, execute the following commands to complete the installation:
echo "source $(brew --prefix nvm)/nvm.sh" >> ~/.zshrc
source ~/.zshrc
This will add the line source /opt/homebrew/opt/nvm/nvm.sh in the ~/.zshrc file. This script contains the necessary commands to setup NVM in your shell session.
Install the latest Long-Term (LTS) version of Node.js using NVM:
nvm install --lts
NVM will install the latest LTS version of Node.js, and node package manager (npm) ↗ will be installed automatically as part of that process. You can verify the installation by checking the versions of Node.js and npm:
node -v
npm -v
Update npm to its latest version:
npm install -g npm@latest
When you need to install / uninstall a specific version of Node.
# List installed versions.
nvm ls

# List available versions to install.
nvm ls-remote

# Install the specific version of Node.js.
nvm install 18.20.3

# Install the lates LTS version of Node.js.
nvm install --lts

# Switch to an installed version.
nvm use 18.20.3

# Set an installed version as the default.
# Whenever you open a new terminal, this will be the node version.
nvm alias default 18.20.3

# Uninstall the specific version of Node.js.  i.e. Clean up your disk.
nvm uninstall 14.17.0
Python Version Manager (pyenv)
The Simple Python Version Manager (pyenv) ↗ is used to install and manage multiple Python versions. After you have installed it via Homebrew brew install pyenv, execute the following commands to complete the installation:
Python prerequisites:
https://github.com/pyenv/pyenv/wiki#suggested-build-environment ↗
# For Mac OS X
# Install Xcode
xcode-select --install

# And a few other things that are suggested
brew install openssl readline sqlite3 xz zlib tcl-tk
Add these lines to your ~/.zshrc file
# For Python Version Manager (pyenv)
export PATH="$HOME/.pyenv/bin:$PATH"
eval "$(pyenv init --path)"
eval "$(pyenv init -)"
# Run in your terminal so the new lines in .zshrc are picked up.
source ~/.zshrc
Standard commands for installing Python and Activating versions
# List available version of python to install.
pyenv install --list

# Install a specific version of python.
pyenv install 3.12.5

# See list of install python versions.
pyenv versions

# Set a version to be use global (system wide).
pyevn global 3.12.5

# Set a version to be used for the directory (locally).
pyenv local 3.9.7

# Set a version to be use for the shell session.
pyenv shell 3.9.7

# Verify the version currently active.
python --version
Error:
pyenv: pip: command not found
The `pip' command exists in these Python versions: 3.12.5
Note: See 'pyenv help global' for tips on allowing both python2 and python3 to be found.
Solution: Set and active version of Python pyenv global 3.12.15
Yarn
At the time of writing there is a classic version 1.22.22 that can be installed from Home brew. However, Homebrew doesn't have the later version. The lastest version at the time of writing is v4.4.1
https://classic.yarnpkg.com/en/docs/install#mac-stable ↗
npm install --global yarn
yarn set version stable
Keep in mind, to use the v 3+ of yarn you will need to use Node 18+
It is possible that once you install the latest yarn that it will be backwards compatible with earlier versions of Node.
If you see issues, you may consider this guidance:
Modern Projects using Node 18+, it's best to use Yarn 3 or 4
Legacy Projects using Earlier versions of Node, you may want to use Yarn 1.22.22
To Change yarn back to 1.22.22.
# Change first to 18, so don't get error in next yarn command.
nvm use 18
yarn set version 1.22.22

# Set Node to whatever earlier version you need and yarn 1.22.22 will be available.
nvm use 16
VS Code
brew install --cask visual-studio-code
Install Extensions
- GiHub Copilot
Useful Keyboard Shortcuts
- Open Settings (CMD + ,)
Settings
- Editor: Format on Save - Check it.
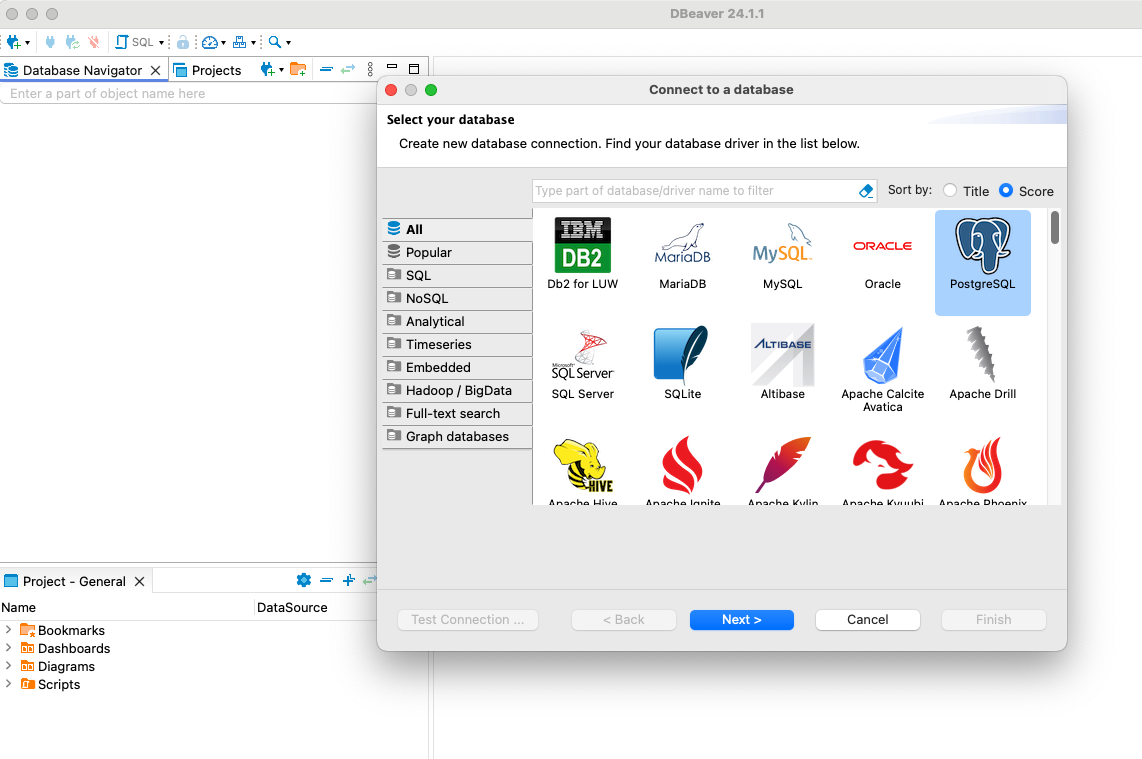
DBeaver
 Free Universal Database Tool
brew install --cask dbeaver-community
Postman for Desktop
- Download from: https://www.postman.com/downloads/ ↗
ChatGPT For Desktop
- Download from: <https://openai.com/chatgpt/download/>
General Mac Configuration\
Dock
I choose to keep the most common apps docked. The ones that will be open all of the time so they are always in the same spot.
I use spotlight (cmd + space) to open all other apps.
Remove
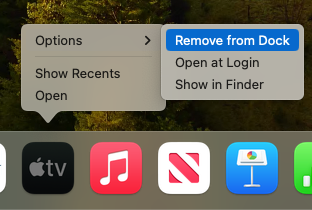
Apple TV, Music, News, Keynote, Numbers, Pages, App Store
Add
Chrome, One Note, Slack, VSCode, Chat GPT
After my changes here is what my Dock looks like.
 How to remove from Dock
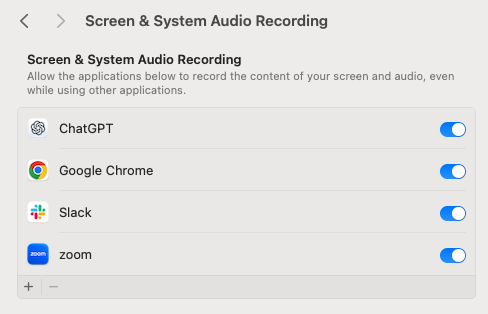
 ### Enable Screen & Audio Recording
Spotlight -> "Privacy & Security" -> "Screen & System Audio Recording"
 ## Google Chrome - Transfer individual profiles
On Your Old Mac
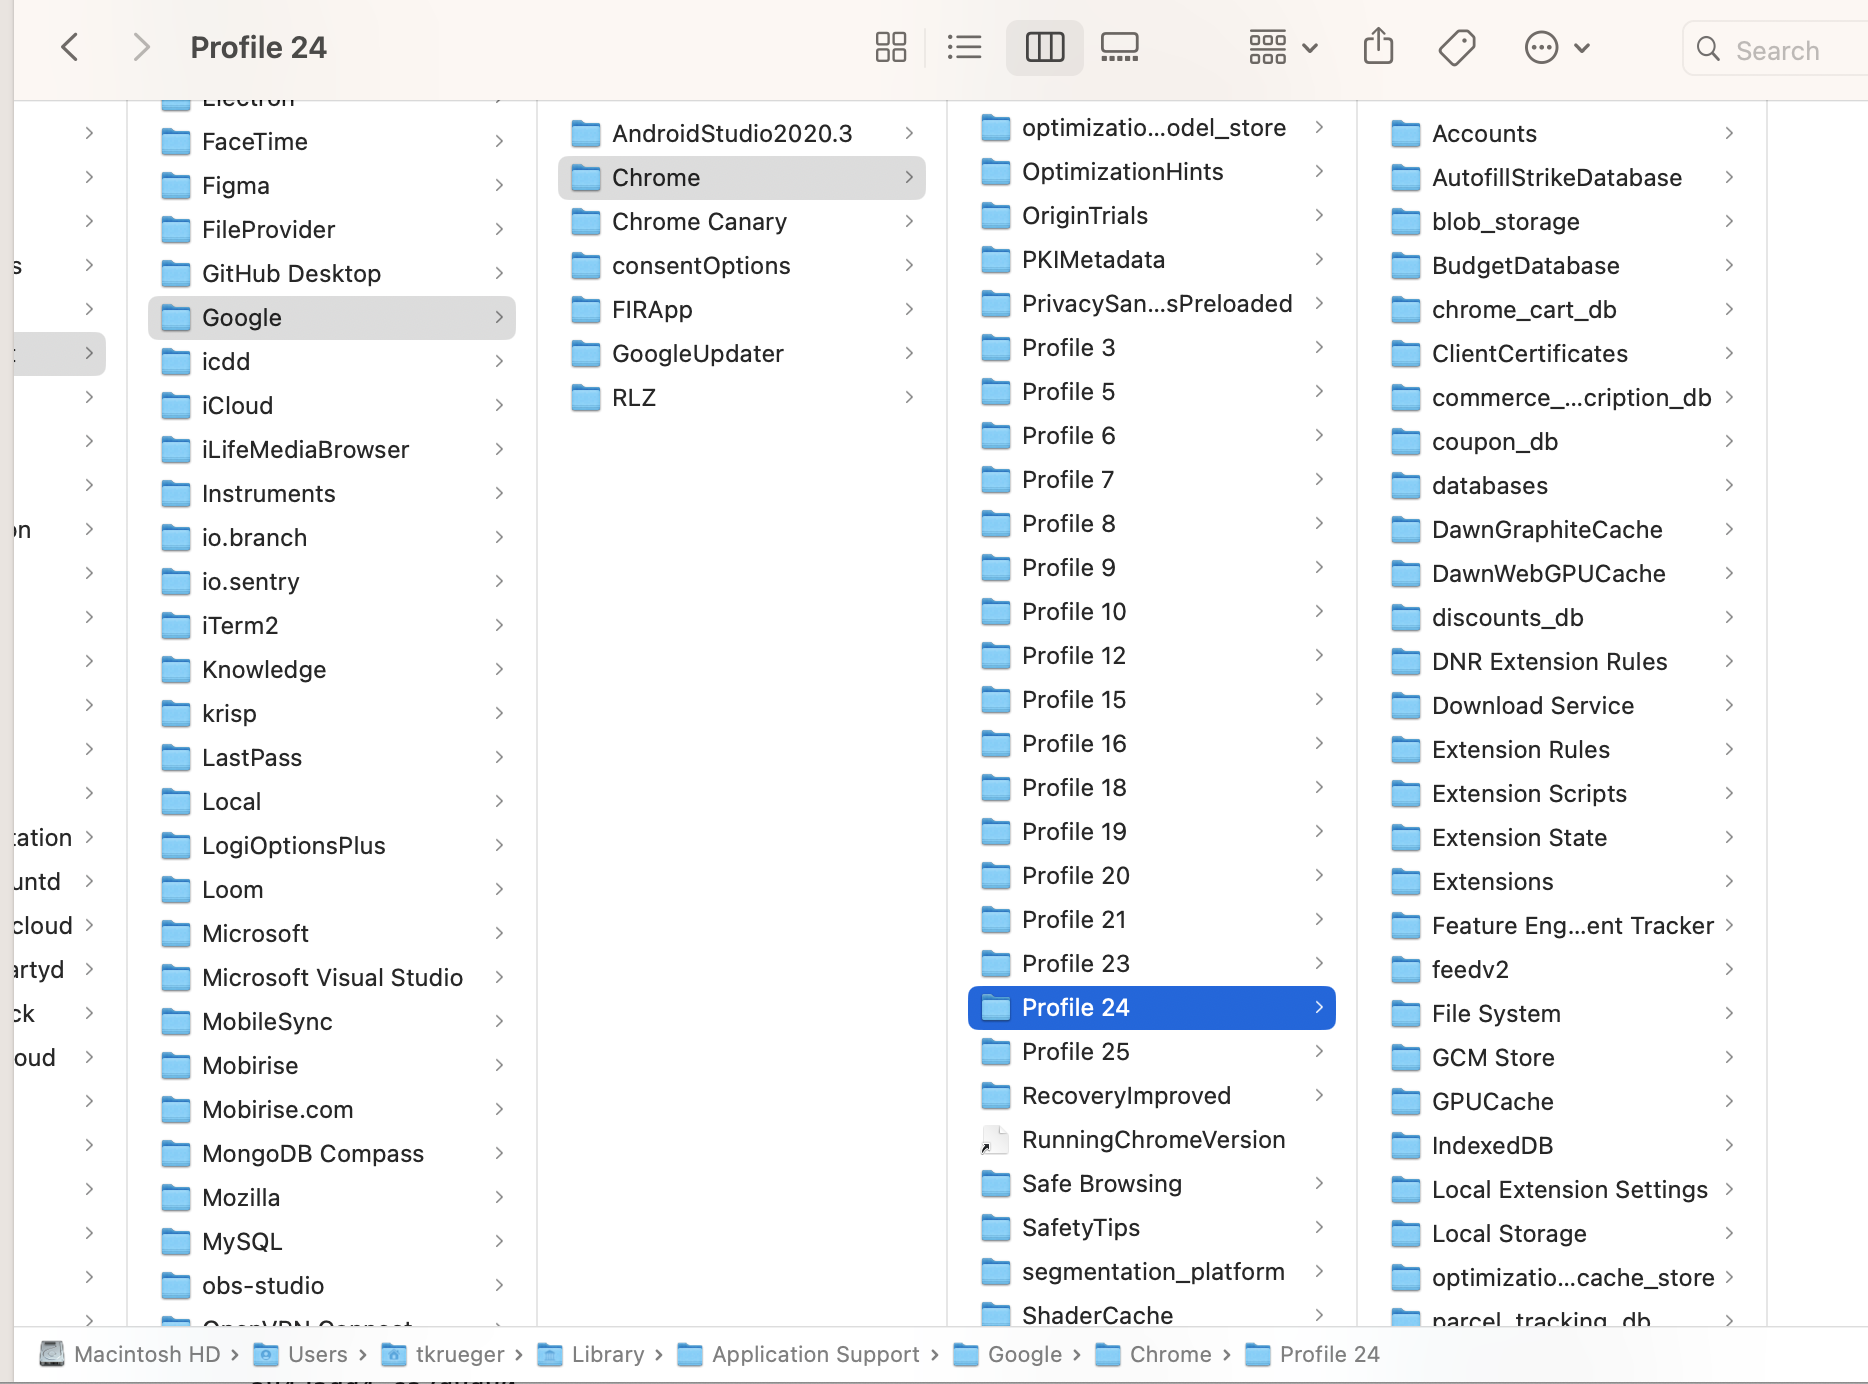
Locate the Profile Folder:
 - Open Finder and go to
 Go > Go to Folder... or press Command + Shift + G.
-
Enter
~/Library/Application Support/Google/Chrome/and pressGo. -
Select Copy the Profile folder and put it in the same location on your New Mac.
- If your new Mac already has the same profile name, rename the Profile folder before pasting.
- Tip: What if you have many profiles and you want only a particular profile.
- Open Google Chrome with the desired profile selected.
- Open a new tab and enter
chrome://versionin the address bar.
This will provide the path the the profile folder.

Errors and Possible Solutions
As you are working along you may end up running into some errors. I have captured a few that I run into with reminders how to solve.
Error: Local package.json exists, but node_modules missing, did you mean to install?

Solve: install packages with your package manager.  npm i, pnpm i, yarn
Error: zsh: command not found: node

Solve: node isn't available in your session. Need to install node. I perfer using nvm.  nvm use [version number] Suggest setting a default node version so you don't run into this.  Refer to NVM section above.
https://www.robinwieruch.de/mac-setup-web-development
